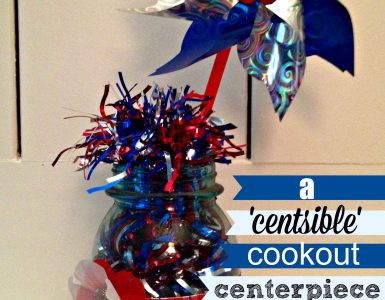
With the coming of the holiday trifecta, it is time to buckle down on getting some new and fun things to put up in the house. It is wayyyy to easy to run out and buy cute decorations to put up. But every now and then, it is nice to make something that can be saved and reused – and hopefully eventually passed down. Crafting is a passion of mine, and while it is time consuming, it can be used for relaxation. Getting to watch new and exciting projects develop is thrilling – even if you know what the end result will look like!
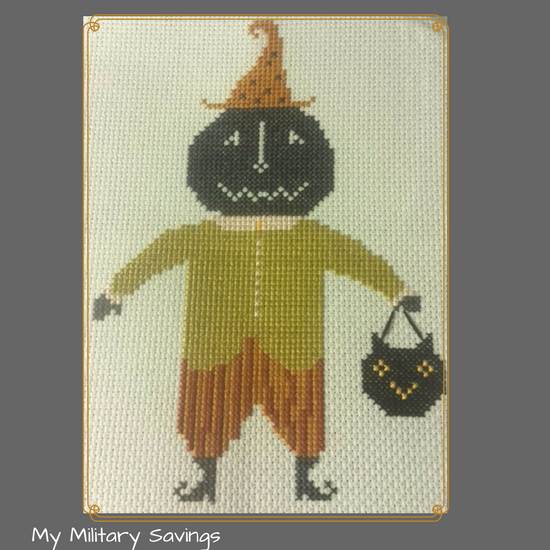
I have been stitching for years. My mom taught me when I was around seven, and I was hooked from there. I started with simple projects, and then worked into my major WIPs (Works In Progress) that of course never seem to get finished. That does not mean that I am not going to start new ones… I just rest easy with the knowledge that I will always have something to work on. Okay, I am working on getting them finished, but sometimes you find a project that screams ME ME ME! I have managed to finish four old WIPs this year. But of course, this Halloween stitch was something that I wanted to get done RIGHT NOW. I can literally spend hours just looking at patterns, patriotic and outdoor themes are huge favorites of mine. Right now, I have a stash that will extend into my grandchildren’s life expectancy (along with my massive to read list), and keep me busy for the next 80+ years. That does not mean I will NOT buy anything new, cause honestly, who can resist awesome projects??? I have a cute little freebie to share with you here, and it was pretty quick to put together. I don’t want ya’ll to think you can sit down and whip this out in two hours, but its a great rainy day activity, that at the end of the day will be done. Here is one that I bought and completed about four years ago, while recovering from hip surgery:
Jack Sprat was really simple to put together. Easy to follow pattern (I used a magnifying glass to make the symbols larger), and adorable! Who could say no to this little guy? I am not sure how I am going to finish him out completely yet.. I might just find a cute frame, or make him into a pillow for my couch.
What you need:
- Aida cloth – I used 18 count fabric
- Needle
- Scissors
- Hoop or Q-Snaps to hold your fabric
- Floss as called for on the bottom of the pattern – 7 colors total
- Pattern (located below)
Directions:
- Find the center of your fabric and mark. I used pencil for this so that the small mark would not be noticeable.
- Place your hoop and pull your fabric taut. I always think of the saying “pretend you are playing the drums.” Pull it tight, but not to tight as you do not want to rip the aida cloth.
- Figure out where you are going to start. I find it easy to find the center of the pattern, and then count to the end of the nearest line. You can go left to right or right to left. Everyone stitches their own way!
- Stitch, stitch, stitch.. and of course binge watch your favorite movies or T.V. shows while you stitch away!
- Enjoy your finished item!

Time from start to finish – 9.5 hours
Cost: $7.54 total!
Satisfaction: PERFECTION!
Pattern: Freebie from www.farmhousenotforgotten/blogspot.com