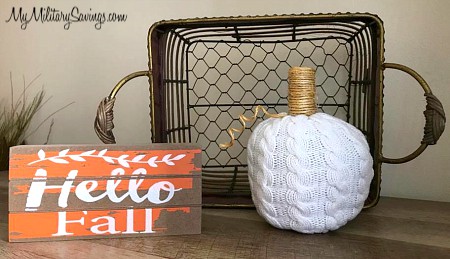
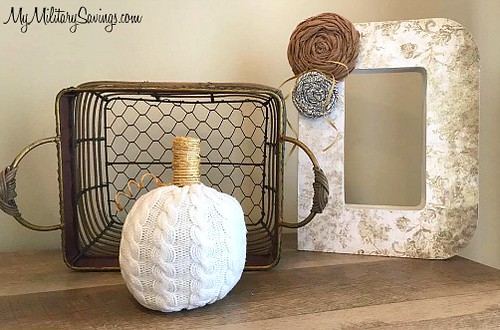
Sewing is a skill I have come no where close to mastering. I can cross-stitch and follow a pattern but you want that hem sewed straight on your pants? Don’t ask me! My husband learned the hard way! 🙂 I have managed replacing a button that popped off but anything else requiring needle and thread is so not my forte! Buuuut… I’m honest about it! Ha! That being said, crafts that are “no-sew” that totally look sewn are one of my favorite projects to do. I can set them on display and people juuuuust might think, “Hey, she sewed that like a pro!” I can hope, right? Well- you tell me! Do these Sweater Pumpkins look like they were hot glued together!?? You be the judge!
To start, head over to your local thrift store to grab an old sweater that you wouldn’t mind cutting up. Or, if you have one in your closet that you haven’t worn in years… that’s even better! Size doesn’t matter – you’ll just be using the sleeves. This is everything else you’ll need:
- Poly-fil® or pillow stuffing
- Wine cork (or something of similar size)
- Twine
- Scissors and hot glue gun
- Clear glue (optional, for curly-q stem piece)

Step 1) Cut off the sleeves of your sweater. Depending on the size of your sweater, you can get up to two pumpkins out of each sleeve. I scored a petite 3/4 sleeve sweater from my thrift store so one sleeve ended up making just one pumpkin for me.

Step 2) If you are making one pumpkin with the whole sleeve, turn the sleeve inside out and tie together the cut end. If you are making two pumpkins out of your sleeve, cut the sleeve in half, turn each piece inside out, and then tie together a cut end on each piece and proceed with step 3.
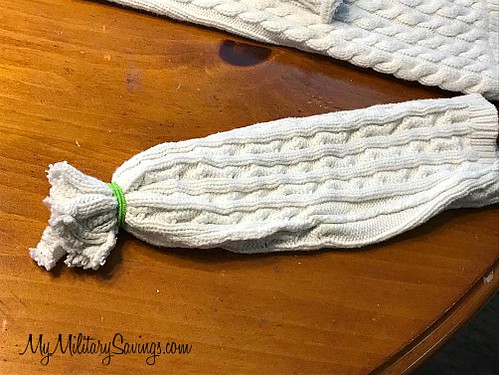
Step 3) Turn the sleeve right side out again so the tie is now hidden inside and stuff with your poly-fil or stuffing.
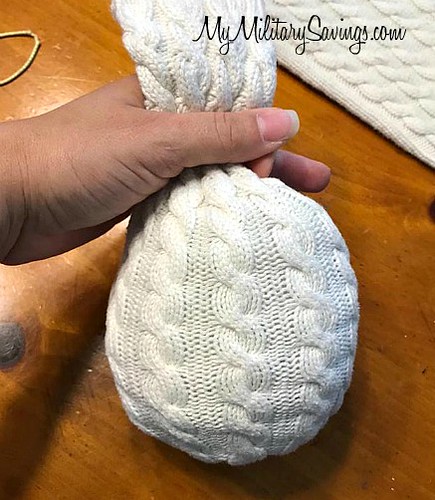
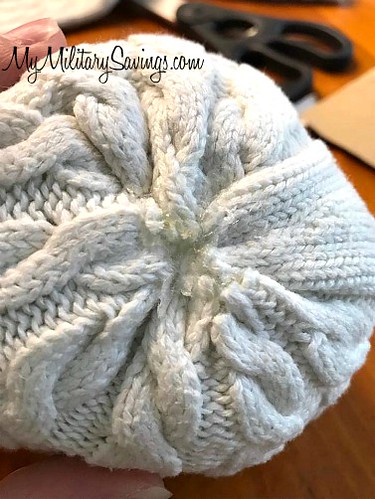
Step 4) Once you’ve puffed things around and created the pumpkin shape that you like, gather the remaining sleeve in your hands and cut right below your fingers leaving about 1/2 inch of material. Grab that hot glue gun and glue the hole shut, pinching the edges of the material together to seal nicely. This will be the bottom of your pumpkin.
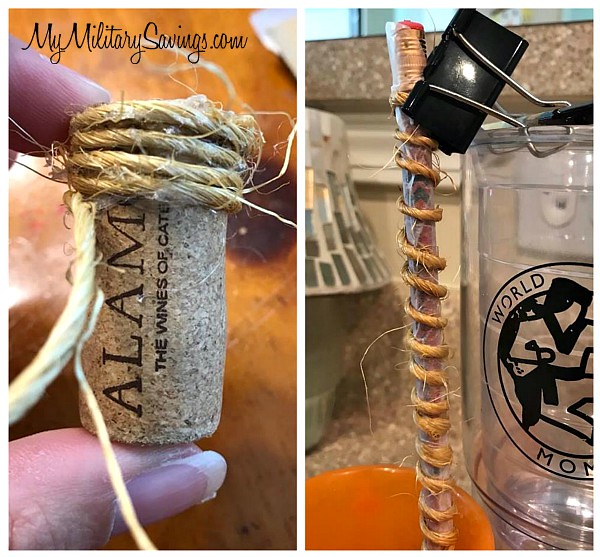
Step 5) Hot glue twine around the wine cork to create your stem. I also wanted some curly-q things next to my stem so I wrapped a piece of twine around a pencil and secured with a clip. Then I mixed some clear glue with water and painted over the twine to get it to keep that curly-q shape. Once it dried I hot glued the wine cork to the top of the pumpkin (not the side that was sealed shut with hot glue) and I added the curly piece next to it.
And that’s it!

This project has actually given me inspiration to clean out my closet now. I wonder what else I can come up with!?
What sorts of crafts have you put together using old clothing? Share those ideas in the comments below!
For more fun DIY and family-friendly crafts, visit MyMilitarySavings.com!
MyMilitarySavings.com was not compensated by the company, service or product mentioned in this blog. This is strictly the honest opinions, findings, beliefs, and/or experiences of the author. The views and opinions expressed in this blog are purely the bloggers’ own. Any claims, statistic, quotes or other representation about a product or service should be verified with the manufacturer, provider or party in question. MyMilitarySavings.com is not liable for any risks injury or illness that may occur if you choose to act upon the bloggers’ suggestions stated in this blog.