I am a sucker for a good DIY project that can be personalized. Once I started creating these easy-to-make magnets, I was instantly hooked. I was casually browsing my local craft store and happened upon some ADORB scrapbooking paper and it all just felt kinda meant to be! Ever have those moments?
My husband thought I was crazy when I came home with bags full of the supplies from the store, but he just doesn’t understand the relationship between this woman and a fun craft! However, he does now! He totally appreciate these awesome magnets I’ve recently added to our refrigerator. Me- 1 Husband- 0 <— But don’t tell him I said that!
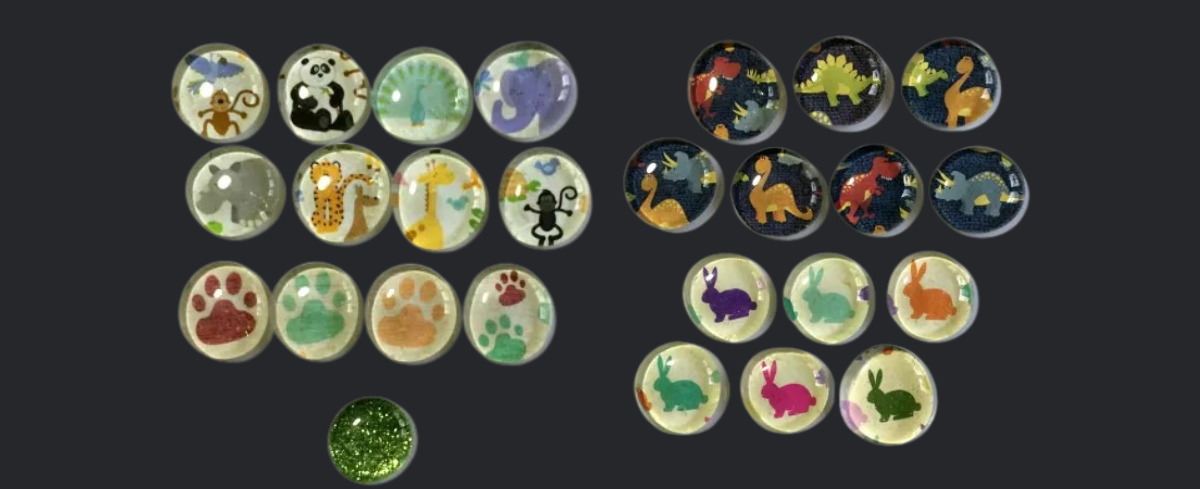
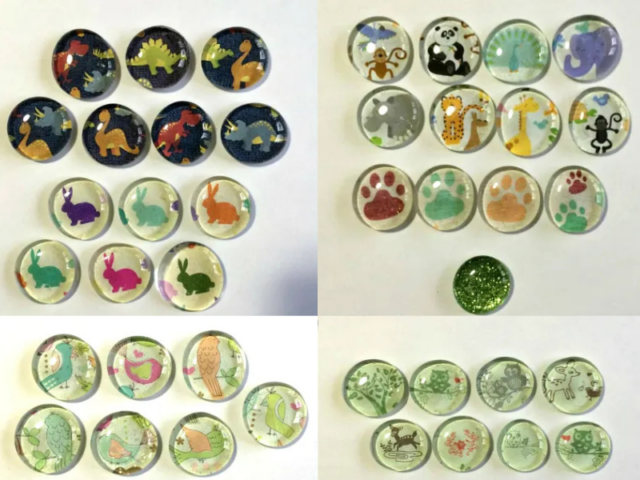
The most exciting part of this project is picking out the designs you’d like to use for your magnets. I walked down an aisle with huuuundreds of pages of scrapbooking paper and ended up with owls (my spirit animal), zoo animals, animal paw prints, dinosaurs, birds, and bunnies.
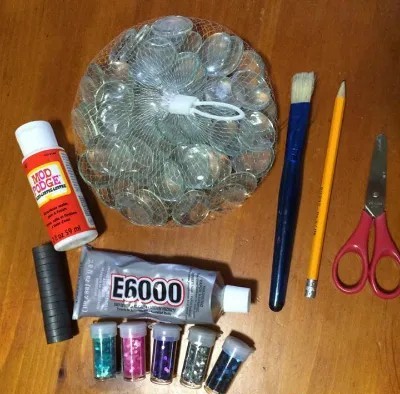
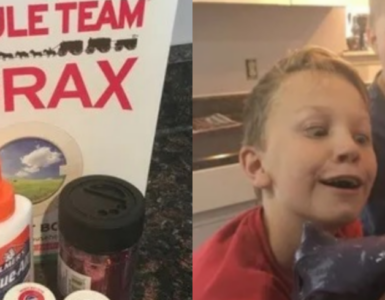
Supplies:
- Cute Scrapbooking Paper
- Clear Glass Beads with Flat Backs
- Mod Podge®
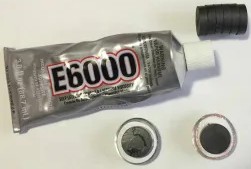
- E6000® Heavy Duty Glue
- Circle Magnets
- Glitter (optional)
- Paintbrush
- Pencil
- Scissors
Directions:
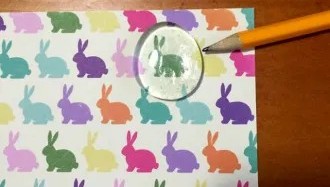
Trace your Clear Glass Beads around pieces of your Scrapbooking Paper that you’d like to turn into a magnet.
Next, you will cut this shape out and then trim around the edges an extra 1/16 inch- this is to make the circumference of your shape a bit smaller than the Clear Glass Beads you traced to make sure it glues down well without any edges sticking off of your Clear Glass Beads.
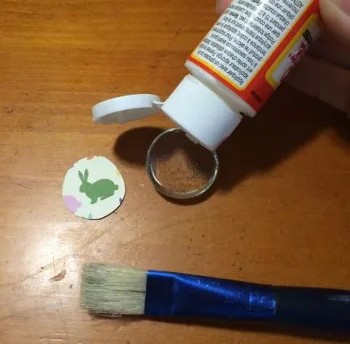
Use your Paintbrush to apply the Mod Podge® to place your design on to the flat part of your Beads.
Let dry.
After a few hours, you will put another THIN coat of Mod Podge® on the back of your Scrapbooking Paper right at the area that you are planning on gluing down your magnet to provide a layer between your paper and the E6000® Heavy Duty Glue.
*** NOTE – Trust me, I skipped this step my first go ‘round and a black circle from the Magnets could be seen on my design. The Glue doesn’t eat through the Paper but it does thin it out.
After waiting for the Mod Podge® to dry, use a TINY little drop of Glue and place your Magnet down on top of it.
Keep your Beads with the Magnet side up to allow it to dry and because your Beads are round on the other side, keep a good watch on your Magnets to make sure they don’t slip around.
After 15 minutes your Magnets won’t move around any longer but you do need to allow a full 24 hours for it to completely dry.
VOILA! You have a bunch of cute, magnetic bubbles of awesomeness!!!
Alternative Idea:
- The Glitter may also be used in place of scrapbooking paper.
- Coat the flat side of your Beads with Mod Podge®.
- Dip in your Glitter until it is completely covered in awesome sparkly-ness.
- Let dry.
- Cover the Glitter with another coat of Mod Podge® to prevent it from sprinkling off.
- If you don’t, your house might look like Tinkerbell hosted a frat party. Seriously.
- Glitter everywhere is no good.
Some Additional Ideas:
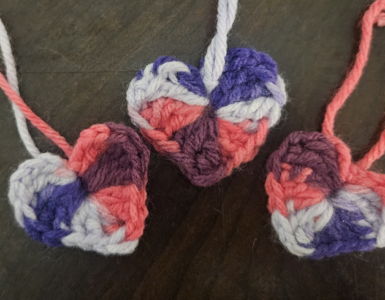
- Hearts for Valentine’s Day
- Shamrocks for St. Patrick’s Day
- Eggs for Easter
- Americana Fun for 4th of July
- School Supplies for Back to School
- Ghosts, Witches, Pumpkins, etc. for Halloween
- Turkeys for Thanksgiving
- Santa, Reindeer, Gift Boxes, etc. for Christmas
I hope you have as much fun with this craft as I did! The possibilities are truly endless! I wonder what creations you will come up with?!?! Maybe I’ll try using photos of people’s faces next…See the ideas just keep coming!
Find Out More with My Military Savings and DIY & Crafts!