Everyone has a different style, and it has taken me a while to find mine. For the longest time I just could not find one thing that really grabbed me. Since we moved this last time, I have decided that I prefer the farmhouse/vintage style of decorating. We have a mix of outdoors and Americana going on, but we are slowly starting to add the older pieces in.
This year, I wanted to make my own Halloween sign. I looked and looked but could not find anything that I just loved. I did a quick search on pinterest and found several designs that I really liked so I narrowed down to the one that I thought I could pull off decently and got to work. First I had to find the perfect sign, and colors to use, then make sure that I had a work space where my kids could not add fingerprints, and the dog hair from our lab could be kept to a minimum. To say that I am the decorator in the house is misleading. My husband gets that distinction. I am not sure how he got the awesome gene in that sense, but he does a fantastic job. I simply point out things I like, and we work together to make them happen. His ability to stage and bring our house together is the best. Now, I did not ask him about this one – this is all me. I wanted to do this and not have the million comments of “if we do this, or can we try this.”
While I was shopping in our local thrift store, I found a rough wooden sign that screamed at me. It literally jumped out at me and said PUT ME IN YOUR CART! Into the cart it went, and I was pretty happy with my 1.00 find. Now to get the design. As I stated above, I looked on pinterest for DIY inspiration, and then free handed from there. I found one that was perfect, and after the family went to bed, I got down to work.
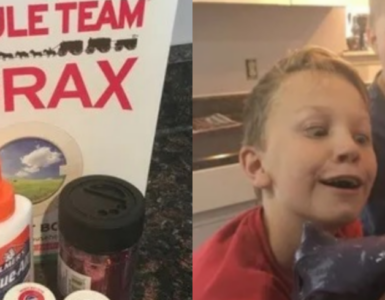
Here is what you need:
- Wooden sign – your choice of size
- Paints and Paintbrushes
- Water cup to rinse brushes as needed. Paper towel would be good to dry off the brush in between rinsing and dipping back into the paint

Directions:
- Figure out where you want your design
- Trace or free hand your design into the board
- Paint!!
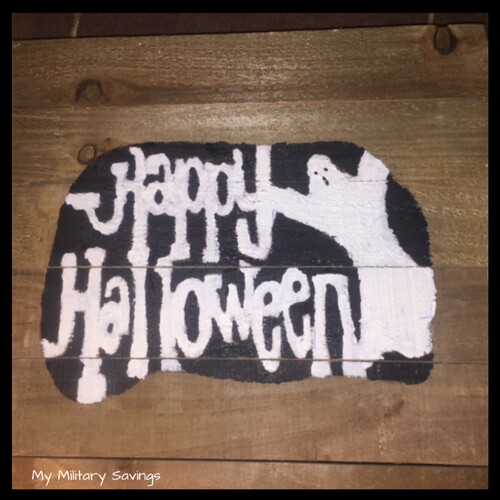
So simple, and so easy! This particular design took me about 2 hours to draw and paint. Now it is laying on my desk drying so I can hang it on the door. I am super excited to hang it up!
Total price: $4.50 – includes paints and sign