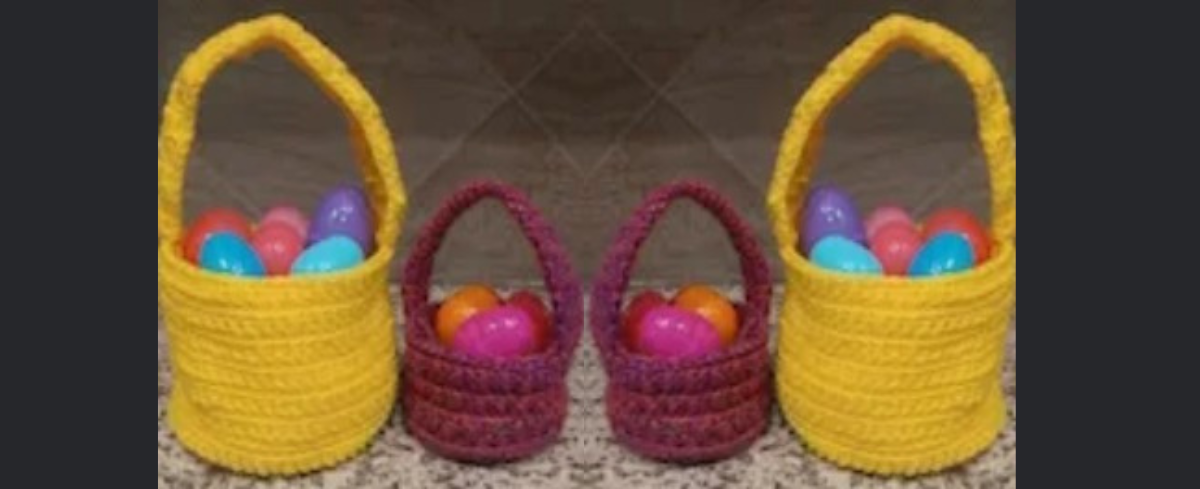
Want to make your own unique creation for little one? Try out this crochet Easter Basket! I love to crochet, so this was a fun project to try out! PLUS…it was relatively easy and quick to make!
What you need:
Terms:
- Magic Circle = how to crochet a round
- SC = Single Crochet (most basic crochet stitch for designs)
- Chain = the stitch used to increase the height for new rows or rounds
- DC = Double Crochet
- Back Loop Only = one of the loops of your crochet stitch
Directions:
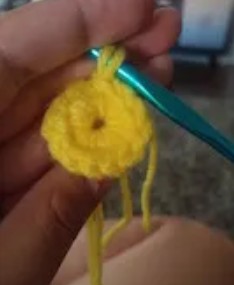
Using 2 strands of yarn (throughout the whole pattern), start with a Magic Circle and Single Crochet (SC) 6 stitches into the circle.
SC 2 into every SC around the circle.
To grow my circle, I put 2 SC in the first SC, SC into the next 2, then 2 SC into the next stitch.
For the next row, I did 2 SC into the first SC, SC into the next 3, 2 SC into the next stitch.
Next row: 2 SC into the first SC, SC into the next 4, 2 SC into the next stitch.
I followed this pattern increasing SC’s (2, 3, 4, 5, etc) until I got the desired circle size.
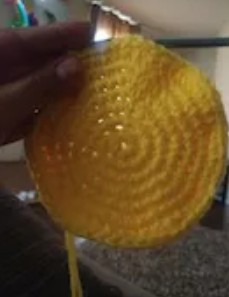
Once you get the circle to the size you want, start the next row with a Chain 2.
I then DC into the Back Loop Only around the whole circle. You will continue to only use the Back Loop Only for the remainder of the pattern.
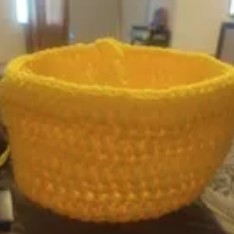
DC into each stitch around until you reach the desired height of the basket.
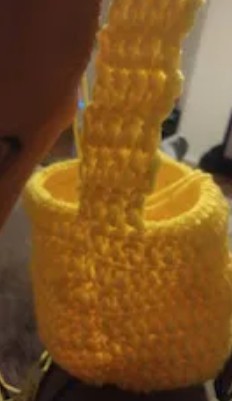
Once you get the height you want, DC into the next 4 stitches.
Go back and forth along these 4 stitches to create the handle.
Once you get the handle done, leave a long tail.
Thread the tail into the 4 stitches that are evenly across the basket.
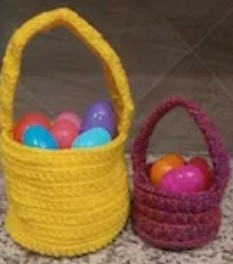
Once done, fill it with eggs, candy, and other goodies! This was a simple and fun project that was fun to make! Watching my kids love on their baskets made my heart smile!
Notes:
- It only took me about 2 hours to make the bigger one and an hour for the small one.
Find Out More with MyMilitarySavings.com and DIY and Crafts!