I finally have an oven! Oh, happy day! Since my boys have been such troopers 😉 during this move and renovation, I decided we needed a little celebration. I was inspired after I browsed Pinterest for a bit (okay a while!) and landed on Whoopie Pies! My guys have never had whoopie pie so I set to work! And thank you again, Pinterest, for the nerdy decoration inspiration, Star Wars! Now, my brand new oven is beautiful, but I still don’t have all day to be baking in the kitchen. I used a store bought cake mix (dark chocolate) and frosting (cream cheese.) I also got a can of that edible silver spray to decorate our death star whoopie pies! 😉
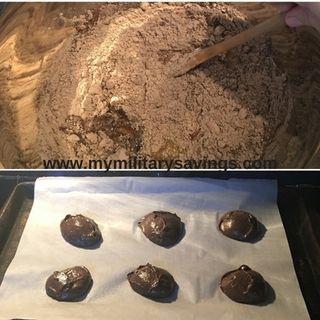
Mix the cake batter according to the directions on the box and use a cookie scoop (or two tablespoons) to measure out even cookies. They took about 8-10 minutes at 350 degrees. Once they’ve cooled completely, the fun part can begin!
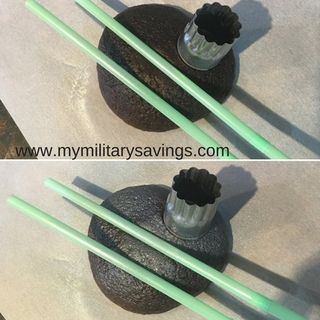
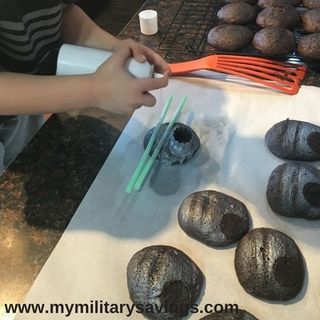
I used a tiny round cookie cutter and two straws to give some shapes and dimension to our death stars. Using the silver spray, give them a quick coat and move on to the next whoopie pie top. So easy the 5 year old had to give a go! I was able to make 24 cookies, so I decorated 12 tops.
I added some red food coloring to the store bought frosting because the death star is the epitome of the dark side, after all. Except I couldn’t get it SUPER red so I went with it. It’s almost Valentine’s Day anyway and in this house of boys, we’ll celebrate with Death Star Whoopie Pies!
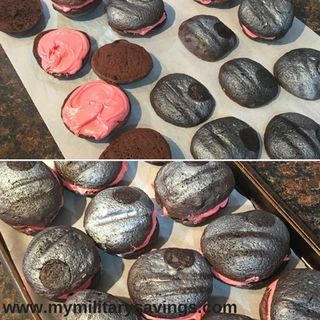
You could certainly flip the cookies so they’re flat on the outsides, but I thought the rounded tops would make for a great death star shape. Spread the frosting on the bottom and top with the decorated tops. I stuck them in the fridge until after dinner and they were awesome!
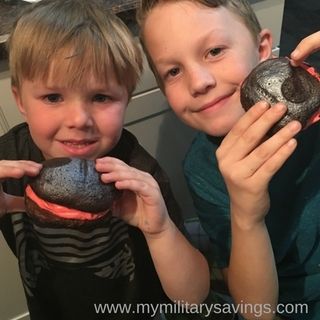
Come to the dark side. We have Whoopie Pies! 🙂 How cute are they? The pies are adorable as well!
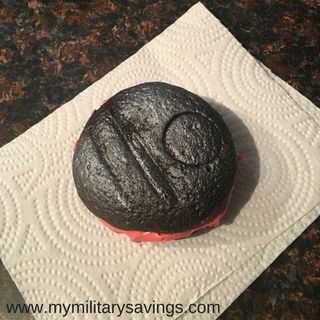
That’s no moon!