Hobby Lobby is a bank-account-sucker-upper. I walk into that store and I want, I want, I want, I want, everrrrrything! They’ve recently opened up a new store right outside of Fort Stewart, where we are stationed in Georgia. I love it, and I hate it. If I don’t own every single thing in Hobby Lobby’s inventory then I will never be completely happy! That’s just how it is! I want to work there so I can turn every paycheck around and put it right back into the place that gave it to me. Plus, I’d get a store discount. Hmm… I wonder if they’re hiring!
For those reasons my husband has restricted the amount of times I am allowed to visit that store, although he hasn’t quite set a spending limit for me yet. HA! But I love and respect him so I’ve decided I will not go broke trying to decorate my house country chic. That’s what I keep telling myself, anyway. “I will not, I will not, I will not… oh hey – what’s that new fall collection I see over there!? No! Stay on track! I will not, I will not, I will not…”
That being said, I’ve decided to try and decorate my living room with a bunch of DIY projects that LOOK like I spent a lot of money on them. I mean, who doesn’t love a nice, simple craft that appears store-worthy!? I currently have a fascination with orb balls so that was first on my list of things to-do this month. And the absolute BEST part of this whole project is that it didn’t cost me more than $5!!!! Cha-ching! Plus, it looks fantabulous next to my aluminum windmill Hobby Lobby just had on sale… just sayin’… 😛
(In all seriousness, Hobby Lobby is a fantastic store and has great prices. I am in no way, shape, or form, demeaning it or trying to portray a poor image of it. This blog is all in fun!)
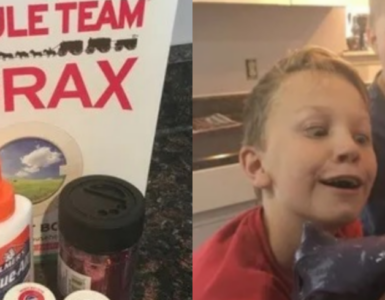
In order to whip one of these DIY Orbs up, this is all that you’ll need!
- 2 embroidery hoops, same size
- A brown paint or wood stain
- Paintbrush

Step 1) Separate the embroidery hoops and paint each piece. (You should have 4 pieces from 2 hoops.)

Step 2) Criss-cross the 2 inside hoops that do not have the metal attachment on them (as shown in the first photo below.) Then add the remaining 2 hoops with the metal clasps in an opposite criss-cross pattern around the first hoops that you put together. It’s like making an asterisk symbol or a snowflake… you start with an X and then add more lines horizontally and vertically. Once your orb is put together, tighten the metal clamps to secure the hoops in place!
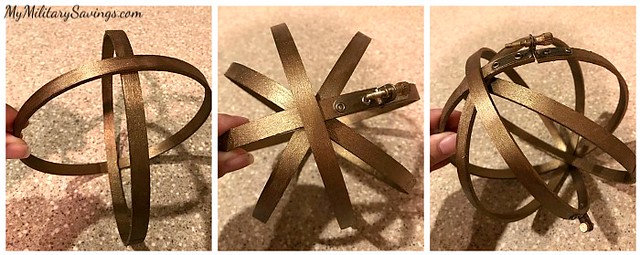
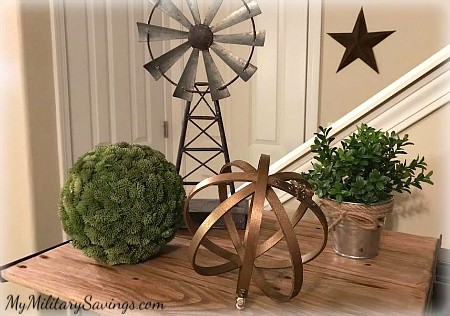
Voila!

I love the simplicity of it, and it offers endless decorating possibilities. It resembles a globe and is bursting with drama… I just adore these orb decorations. What do you think?? Is this something you could rock in your house? Let me know your thoughts in the comments below!
To follow along my DIY journey, subscribe to MyMilitarySavings.com!!