 My Military Savings
Tis the season!! The stores are overflowing with pencils, crayons, and glue sticks. The kids are antsy – not quite ready for the structure of a classroom and new responsibilities but suffering from slight boredom due to too much freedom…or is that just my kiddos?! Here in Georgia, the new school year is just a few days away and we are doing all that we can to prepare our best. School supply lists have been checked off, new clothes have been bought, our fridge is stocked with all of the breakfast and lunch necessities…now just to mentally prepare these little ones!
I decided to put together little back-to-school projects to do with my daughter to give us a chance to talk more about what she can expect in school and to touch up on some of the skills that she has previously learned. This fun pencil craft was one of them! It reviews the basic shapes, allows practice with scissors, includes a bit of handwriting, and requires following simple directions. Plus, it’s very similar to the name tags we saw taped on everyone’s desk. That’s actually what sold my daughter on this project! Let’s gather our supplies and get started!
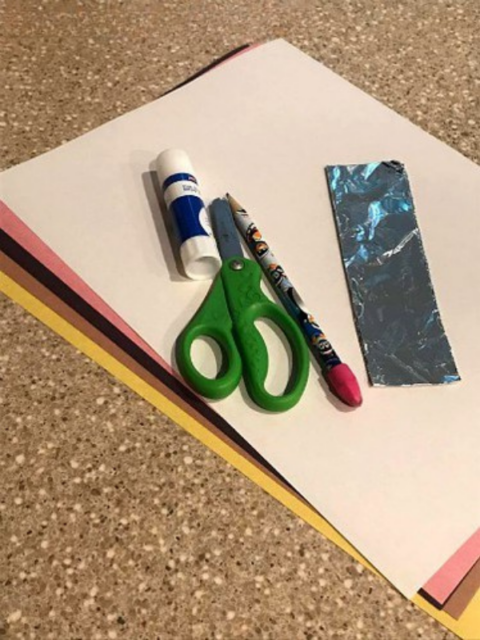
Supplies:
- Yellow, brown, black, pink, and white construction paper
- Scissors
- Pencil
- Glue Stick
- Small Sheet of Aluminum Foil
Directions:
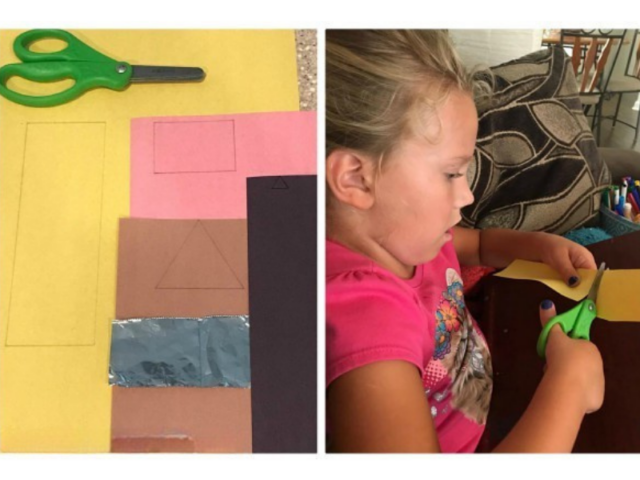
- Depending on your child’s skill level, either create shape templates to allow your little one to trace and then cut or draw the shapes yourself onto the construction paper and instruct your child to cut them out.
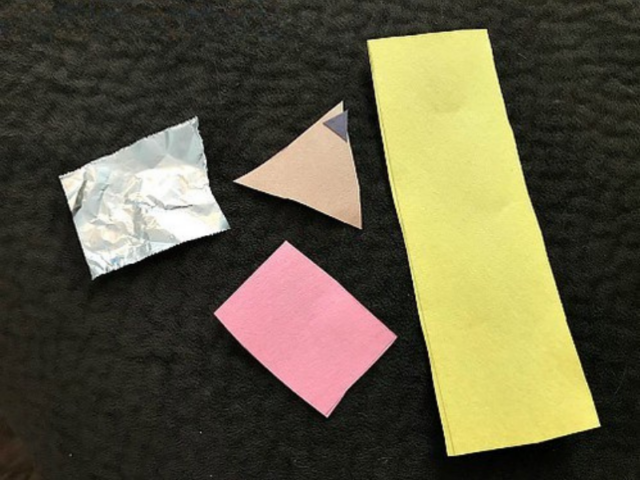
- You need a large rectangle from the yellow paper (the pencil itself), a small rectangle from the pink paper (the eraser), a brown triangle (the wooden pencil tip), an even smaller black triangle (the lead of the pencil), and a thin rectangle from the aluminum foil (the metal that holds the eraser).
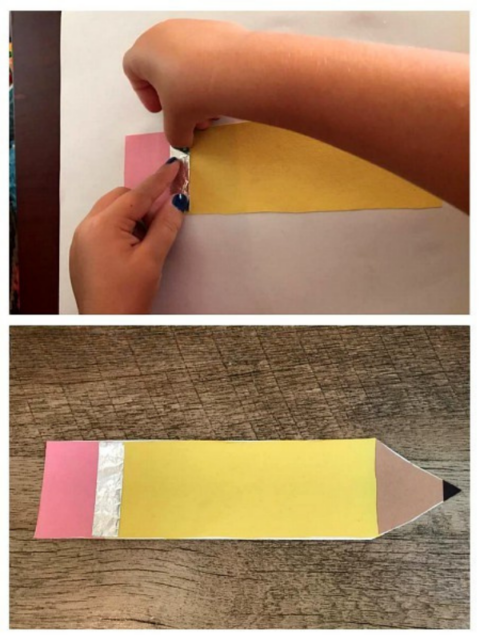
- Using the white paper as a base, the shapes should then be glued down into the form of a pencil!
- Then, cut the excess white paper off.
- ***NOTE*** I folded the aluminum foil over into the shape we needed so it wasn’t flimsy.
- Ask your munchkin to write his or her name to finish it off!
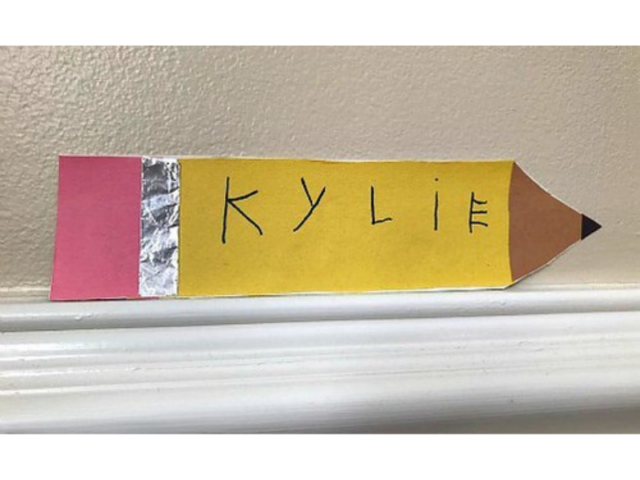
You can even take it a step farther and laminate this to preserve a memory or milestone of whatever grade your child is entering. Don’t forget to write the date on the back! Here’s another idea…how about creating a larger version of this to give to the teacher as a back-to-school gift? I think it’d look pretty nifty hanging from the classroom door! What are you waiting for? Grab your supplies and start creating!
Good luck with the new school year and may it be an easy breezy, smooth sailing one for both children and adults alike.
Find Out More with My Military Savings and DIY & Crafts!

 Jeanine McKelvy