My four year old’s room is a complete display of all of her beautiful works of art. I used to try to coordinate her curtains with the pictures on the wall with her bed set with the rugs but I decided that it’s her personal space… she should be able to do with it what she likes! Of course I have some of her masterpieces on our refrigerator as well but for the most part, it has also helped to declutter the house. She prefers that her paintings from school and her artsy projects be kept in her bedroom in her own space that she is extremely proud of because it represents her. And I love it.
She was watching me make a wreath for our door a few weeks ago and asked me if she could have some of my silk flowers to hang on her walls. I thought it was an adorable idea but I couldn’t imagine a way to do it other than tacking a flower here, a flower there… so I suggested that we find a way to paint our own flowers. Next thing I knew, we had paper plates strewn across the room, paintbrushes tucked behind our ears, and an awesome idea coming to life.
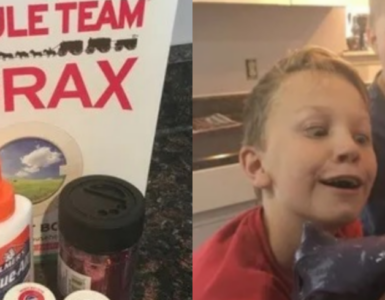
Everyone knows that paper plates have about 2,000 different purposes. Seriously, the arts and crafts that can be done with them are limitless. And if you are looking for something thick and sturdy, Chinet is the brand to stick with! But that’s a story for another time. If you want to create some of your own beautiful, painted, paper flowers then this is what you’ll need:
- Paper plates (4 per flower)
- Paint of your choice (we used non-toxic poster paint but watercolor or acrylic would be fantastic, too!)
- Scissors
- Paint brush
- Hot glue gun (or other glue/stapler to hold everything together)

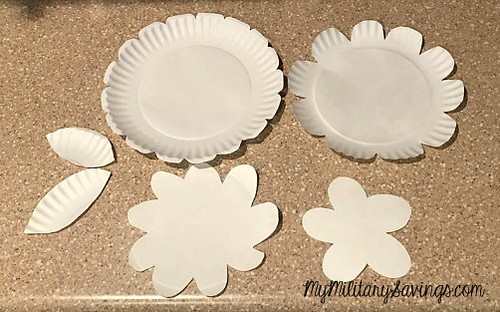
The first step is cutting the four layers of each flower, gradually making each layer smaller than the previous one. I chose to create different looking petals and different numbers of petals with each layer so they’d really stand out once they were combined together. The scraps of paper plate from the smallest flower can be used to cut out leaves.
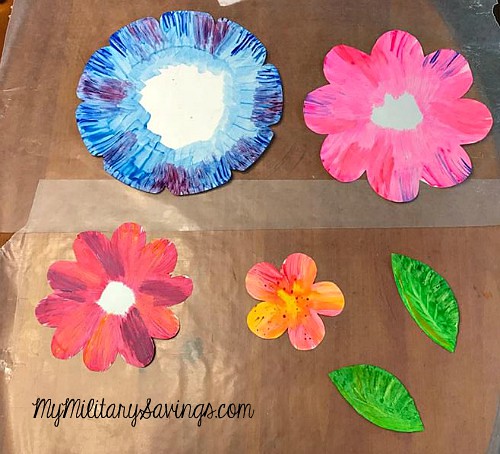
Next, paint each layer of your flower with different colors. The photo below is a flower that I painted but this is a very simple craft perfect for any child to do, as well. Once my daughter had painted her paper plates I went back and added a few striations to hers to make the petals pop and I added veins to the leaves.
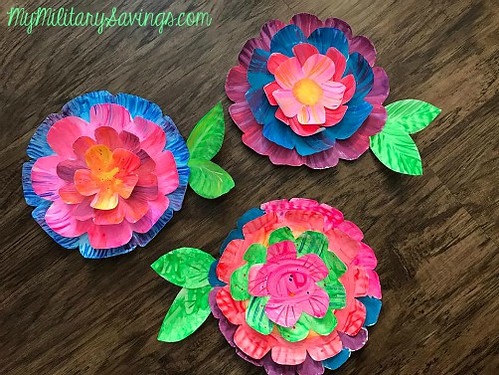
Once the paint has dried, use the handle of the paint brush to curl each petal to give it some depth. Then glue all of your pieces together and voilà! It’s that simple!
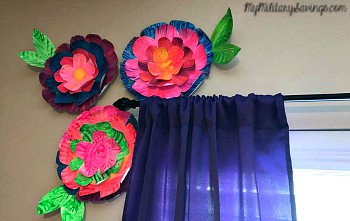
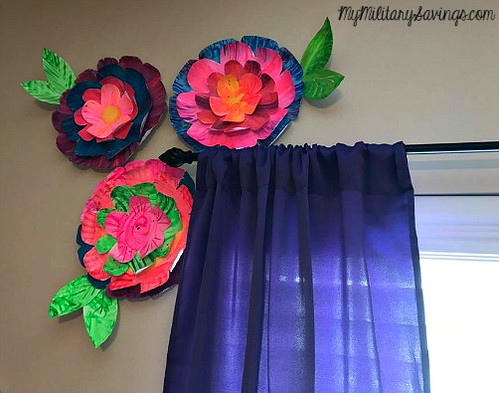
These look great in clusters around a window!

What do you think?? What other creative uses have you come up with for paper plates? I’d love to hear your ideas! Share them in the comments below.
For more fun family crafts, visit MyMilitarySavings.com!