
If you’ve been following my crafts for the past year, you know that I love love LOVE little hand prints! My girls are older now so they don’t send home cutesie hand print stuff from school anymore so it’s my duty to document such things at home! I saw a photo of this craft and immediately loved it and figured it couldn’t be that hard to recreate… and it wasn’t. Plus, it has made a lovely center piece for our dinner table and I’ve gotten compliments on it from everyone that has visited our home and walked past it. It almost seems to wave “hi” to you as you walk by. 🙂
This Valentine’s Tree is a craft that little ones can make from start to finish, with just a little help using scissors if necessary. I had all of the materials set out on the table when my four year old woke up the other morning and she sat down and got right to work, staying busy for close to an hour with just a little break in between to let the paint dry. If you’re looking for an indoor activity and are feeling festive for the upcoming Valentine’s Day… this Valentine Hand Print Tree is for you! I think it’d also be a super thoughtful gift to give to a parent, grandparent, teacher, etc!
This is all you’ll need:
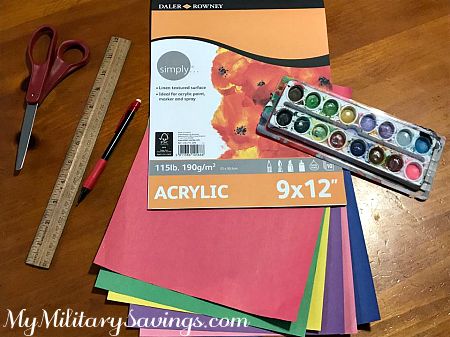
- Thick paper (such as the acrylic paper pictured) OR skip the painting step and use a brown colored card stock
- Paint (we chose watercolor) if you are not using brown card stock
- Different colored construction paper
- A ruler, scissors, pencil, and glue
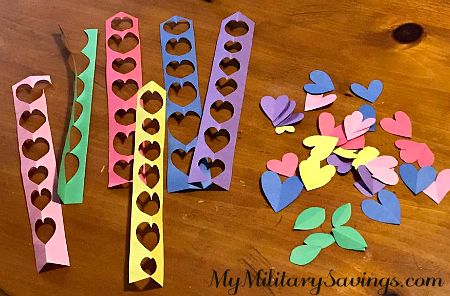
Step 1) Cut out a variety of different shaped and colored hearts as well as a few leaves to decorate your hand print tree.
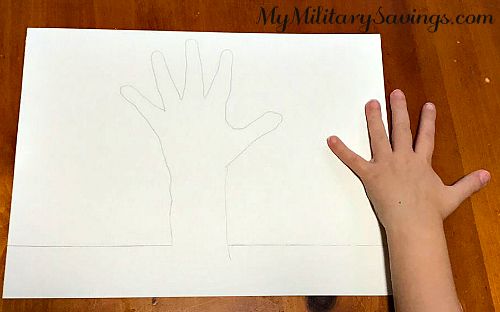
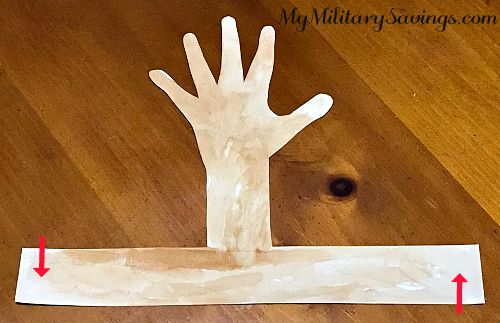
Step 2) Set your paper into landscape orientation (long ways side to side instead of up and down) and trace your little one’s hand/wrist leaving a few inches across the bottom of the page for a thick strip.
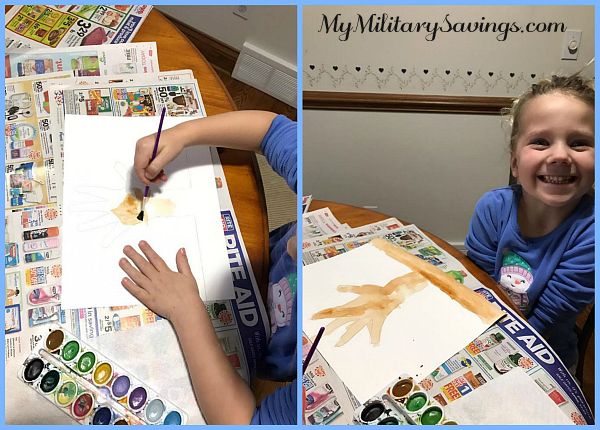
Step 3) Paint the hand print and strip brown for the tree trunk. Let dry.
Step 4) Cut out the hand print and add two slits to each end of the strip (see photo below), one side cutting down about 3/4 of the way and the opposite side cutting up 3/4 of the way. This is how you will connect the strips to allow the tree to stand upright.
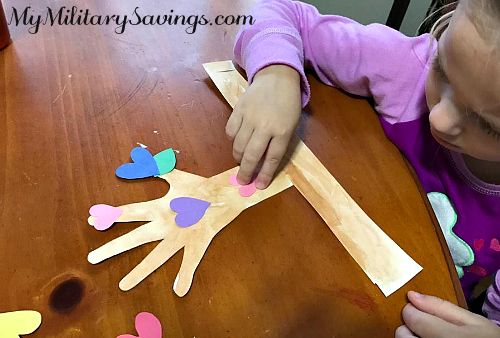
Step 5) Glue hearts and leaves to the tree. My daughter chose to add some to the bottom strip as well as if the hearts had blown down in the wind.
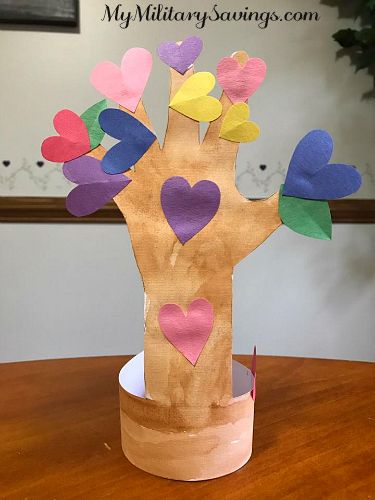
Step 6) If necessary, place your creation under a few heavy books to flatten if the glue and paint has crinkled the paper up a bit. Then wrap the strip around, slide the slits into each other, and place your hand print tree somewhere for everyone to admire.
If you’ve missed my other hand print crafts, check them out here:
Memory Flip Flops (that’s a footprint craft, but just as cute!)
One of my favorite quotes: “The fingerprints on the wall appear higher and higher until suddenly they disappear.” Capture these memories while you can!
Happy Valentine’s Day, y’all!!
<3